Inspection Machine
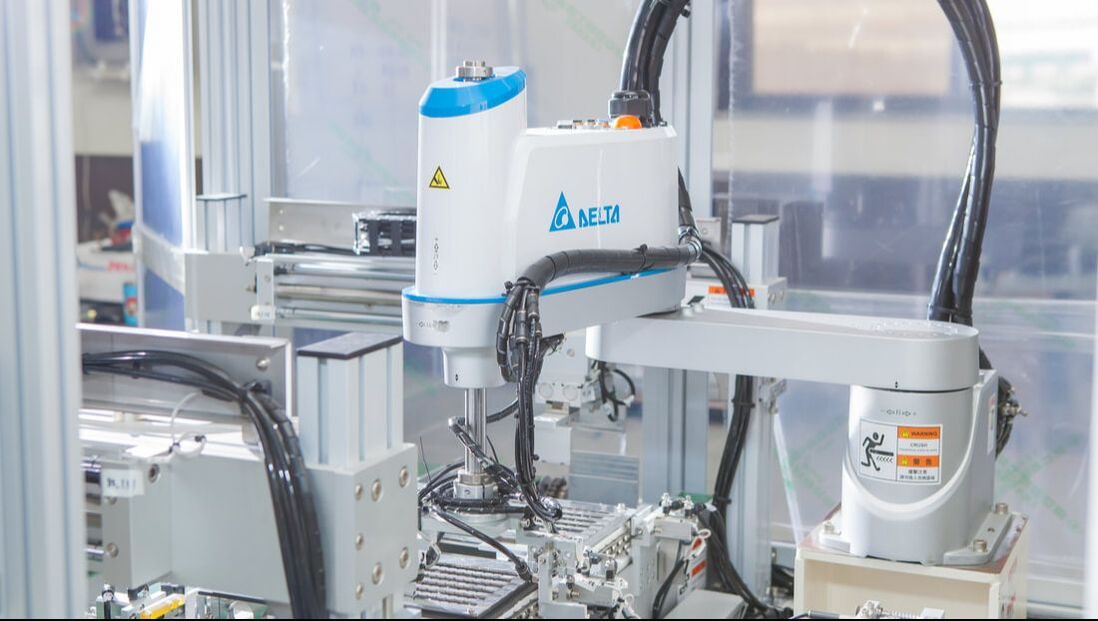
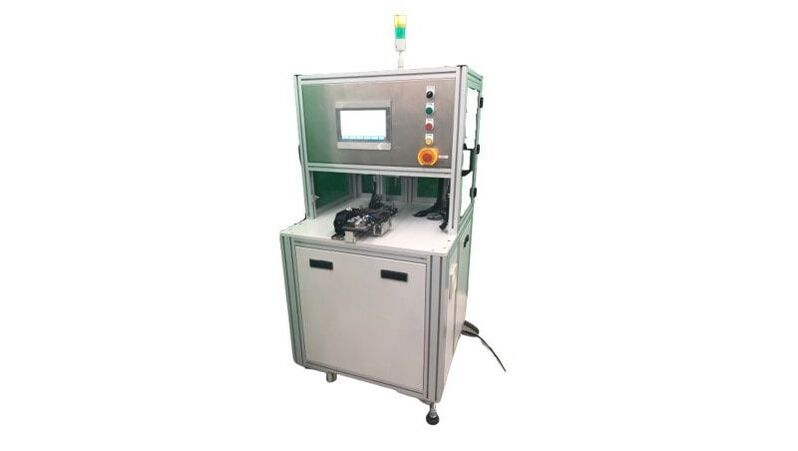
Quality inspection and recording are necessary works for the factory. First, PrefactorTech will integrate high-precision inspection machines and robots to provide a high-efficiency automated quality inspection system, including feeding systems, fixtures, inspection equipment, robots, etc. At the same time, the system can automatically directly issue warnings and record the inspection results, which can be exported in different digital formats. In case there is an issue, please contact us for guidance.
Inspection machine for len's dimmesion
|
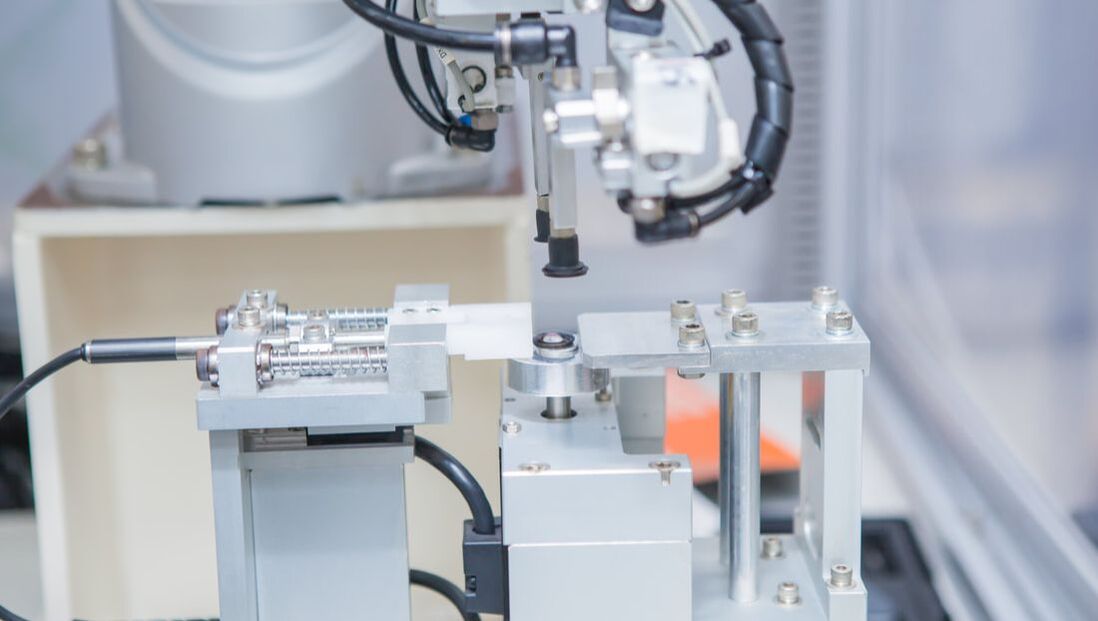
There are convex and concave faces on both sides of the lens, and the curvature will affect the projection quality of the lens. In order to ensure that the circumference of the lens is within the tolerance, each lens needs to be fully inspected and approved. With our automated system, manual work can be reduced, measurement errors can be significantly minimized, thus the efficiency of the factory can be greatly improved.
|
The mechanically repeatable accuracy of the lens fixture can be controlled within 1µm, and accurate data can be measured through a high-precision contact measuring tool.
|
If the inspection results are not within the tolerance range, they will be screened directly. Only good products can enter the next process.
|
Inspection machine for inner diameter
|
Marposs M1 inner diameter measuring instrument and LVDT are used to measure the inner diameter after machining. The measurement results can be fed back to a CNC machine for automatic correction of the tool wear, which is suitable for all inner diameter machining processes.
|
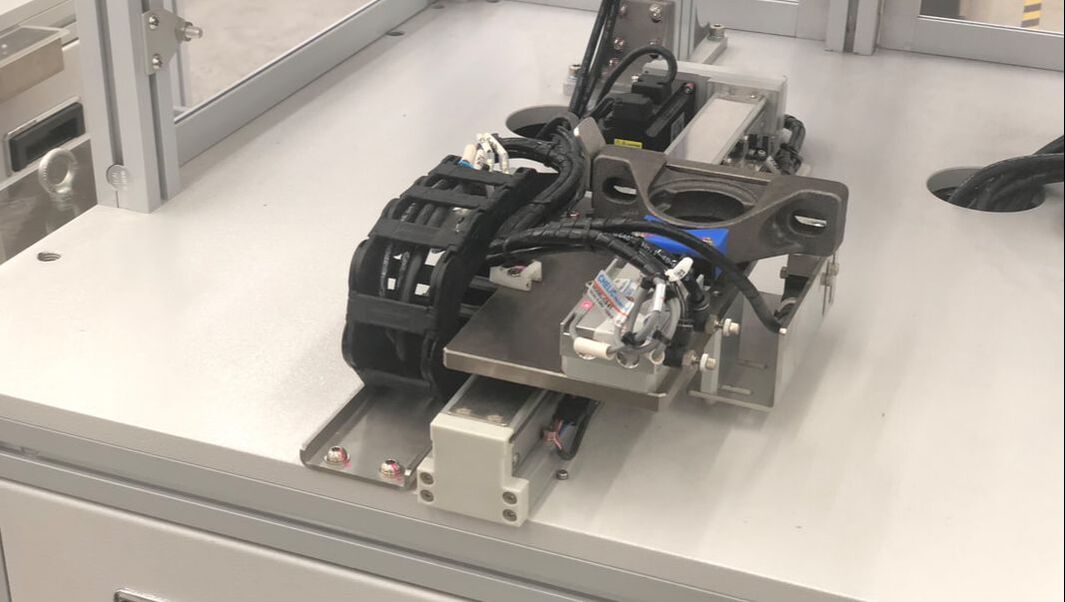
The fixture is designed to fix the workpiece so that the measurement results can be carried out smoothly. The mechanically repeatable accuracy is within 1µm.
|
After the workpiece is put into the plate by personnel or robot, the sliding table will automatically enter the machine, which will start measuring and inspecting.
|
Non-destructive flaw detector
|
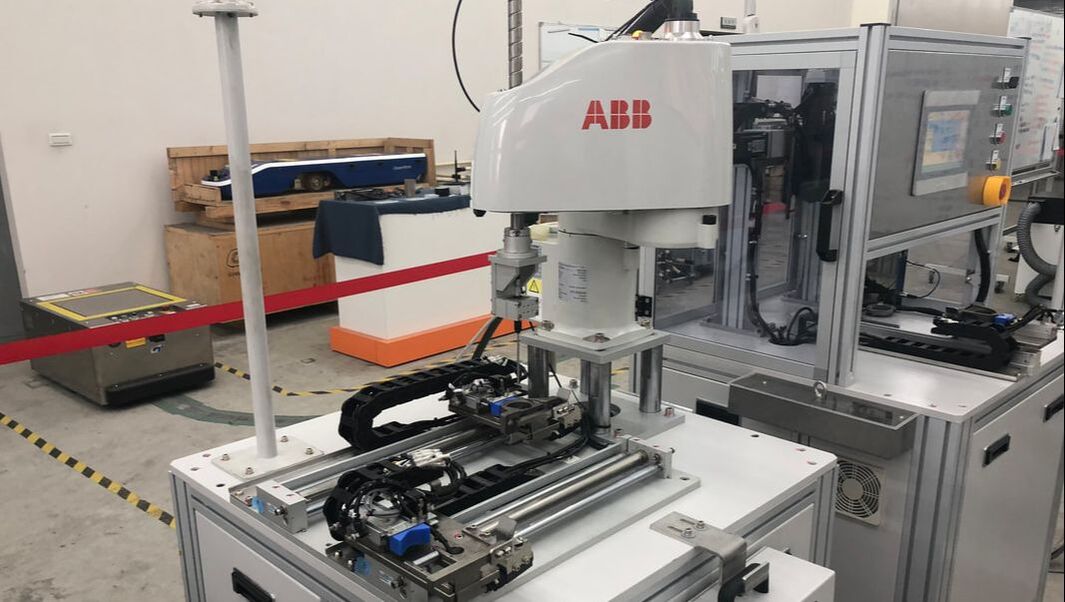
The non-destructive flaw detector is used to inspect sand holes and cracks during the casting process. This equipment integrates the ABB SCARA four-axis robot and the Olympus Nortec 600 flaw detector to detect whether the workpiece is abnormal by using contact eddy current, which can be applied to all casting processes.
|
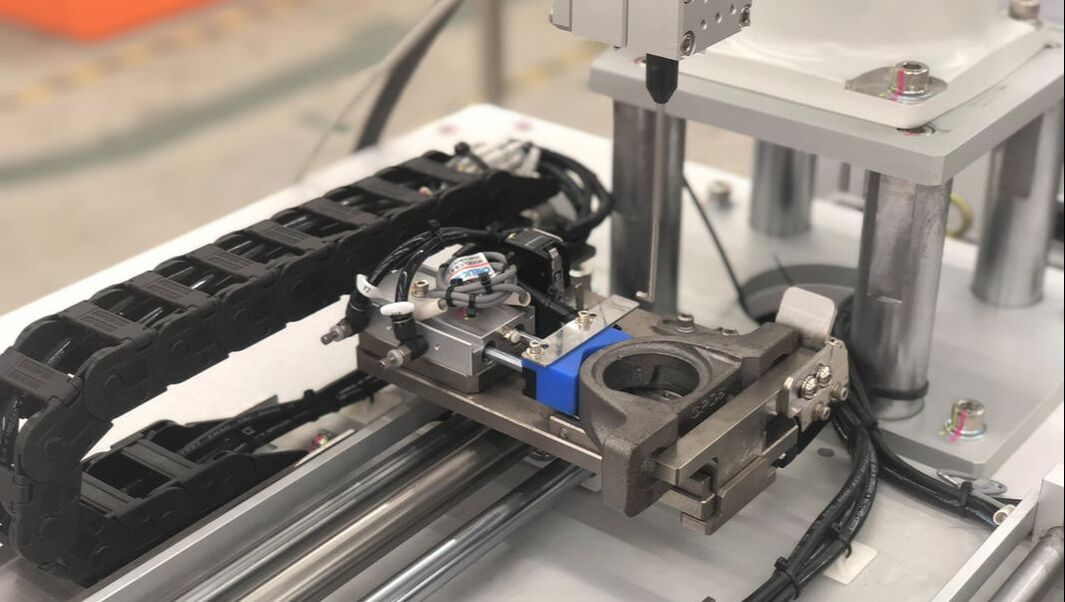
The fixture is designed to fix the workpiece so that the measurement results can be carried out smoothly. The mechanically repeatable accuracy is within 1µm.
|
A double-station sliding plate is adopted. After the workpiece is put into the plate by personnel or robot, the sliding table will automatically enter the machine, which will start measuring and inspecting.
|
